
NATURAL DYEING WITH PINE NEEDLES

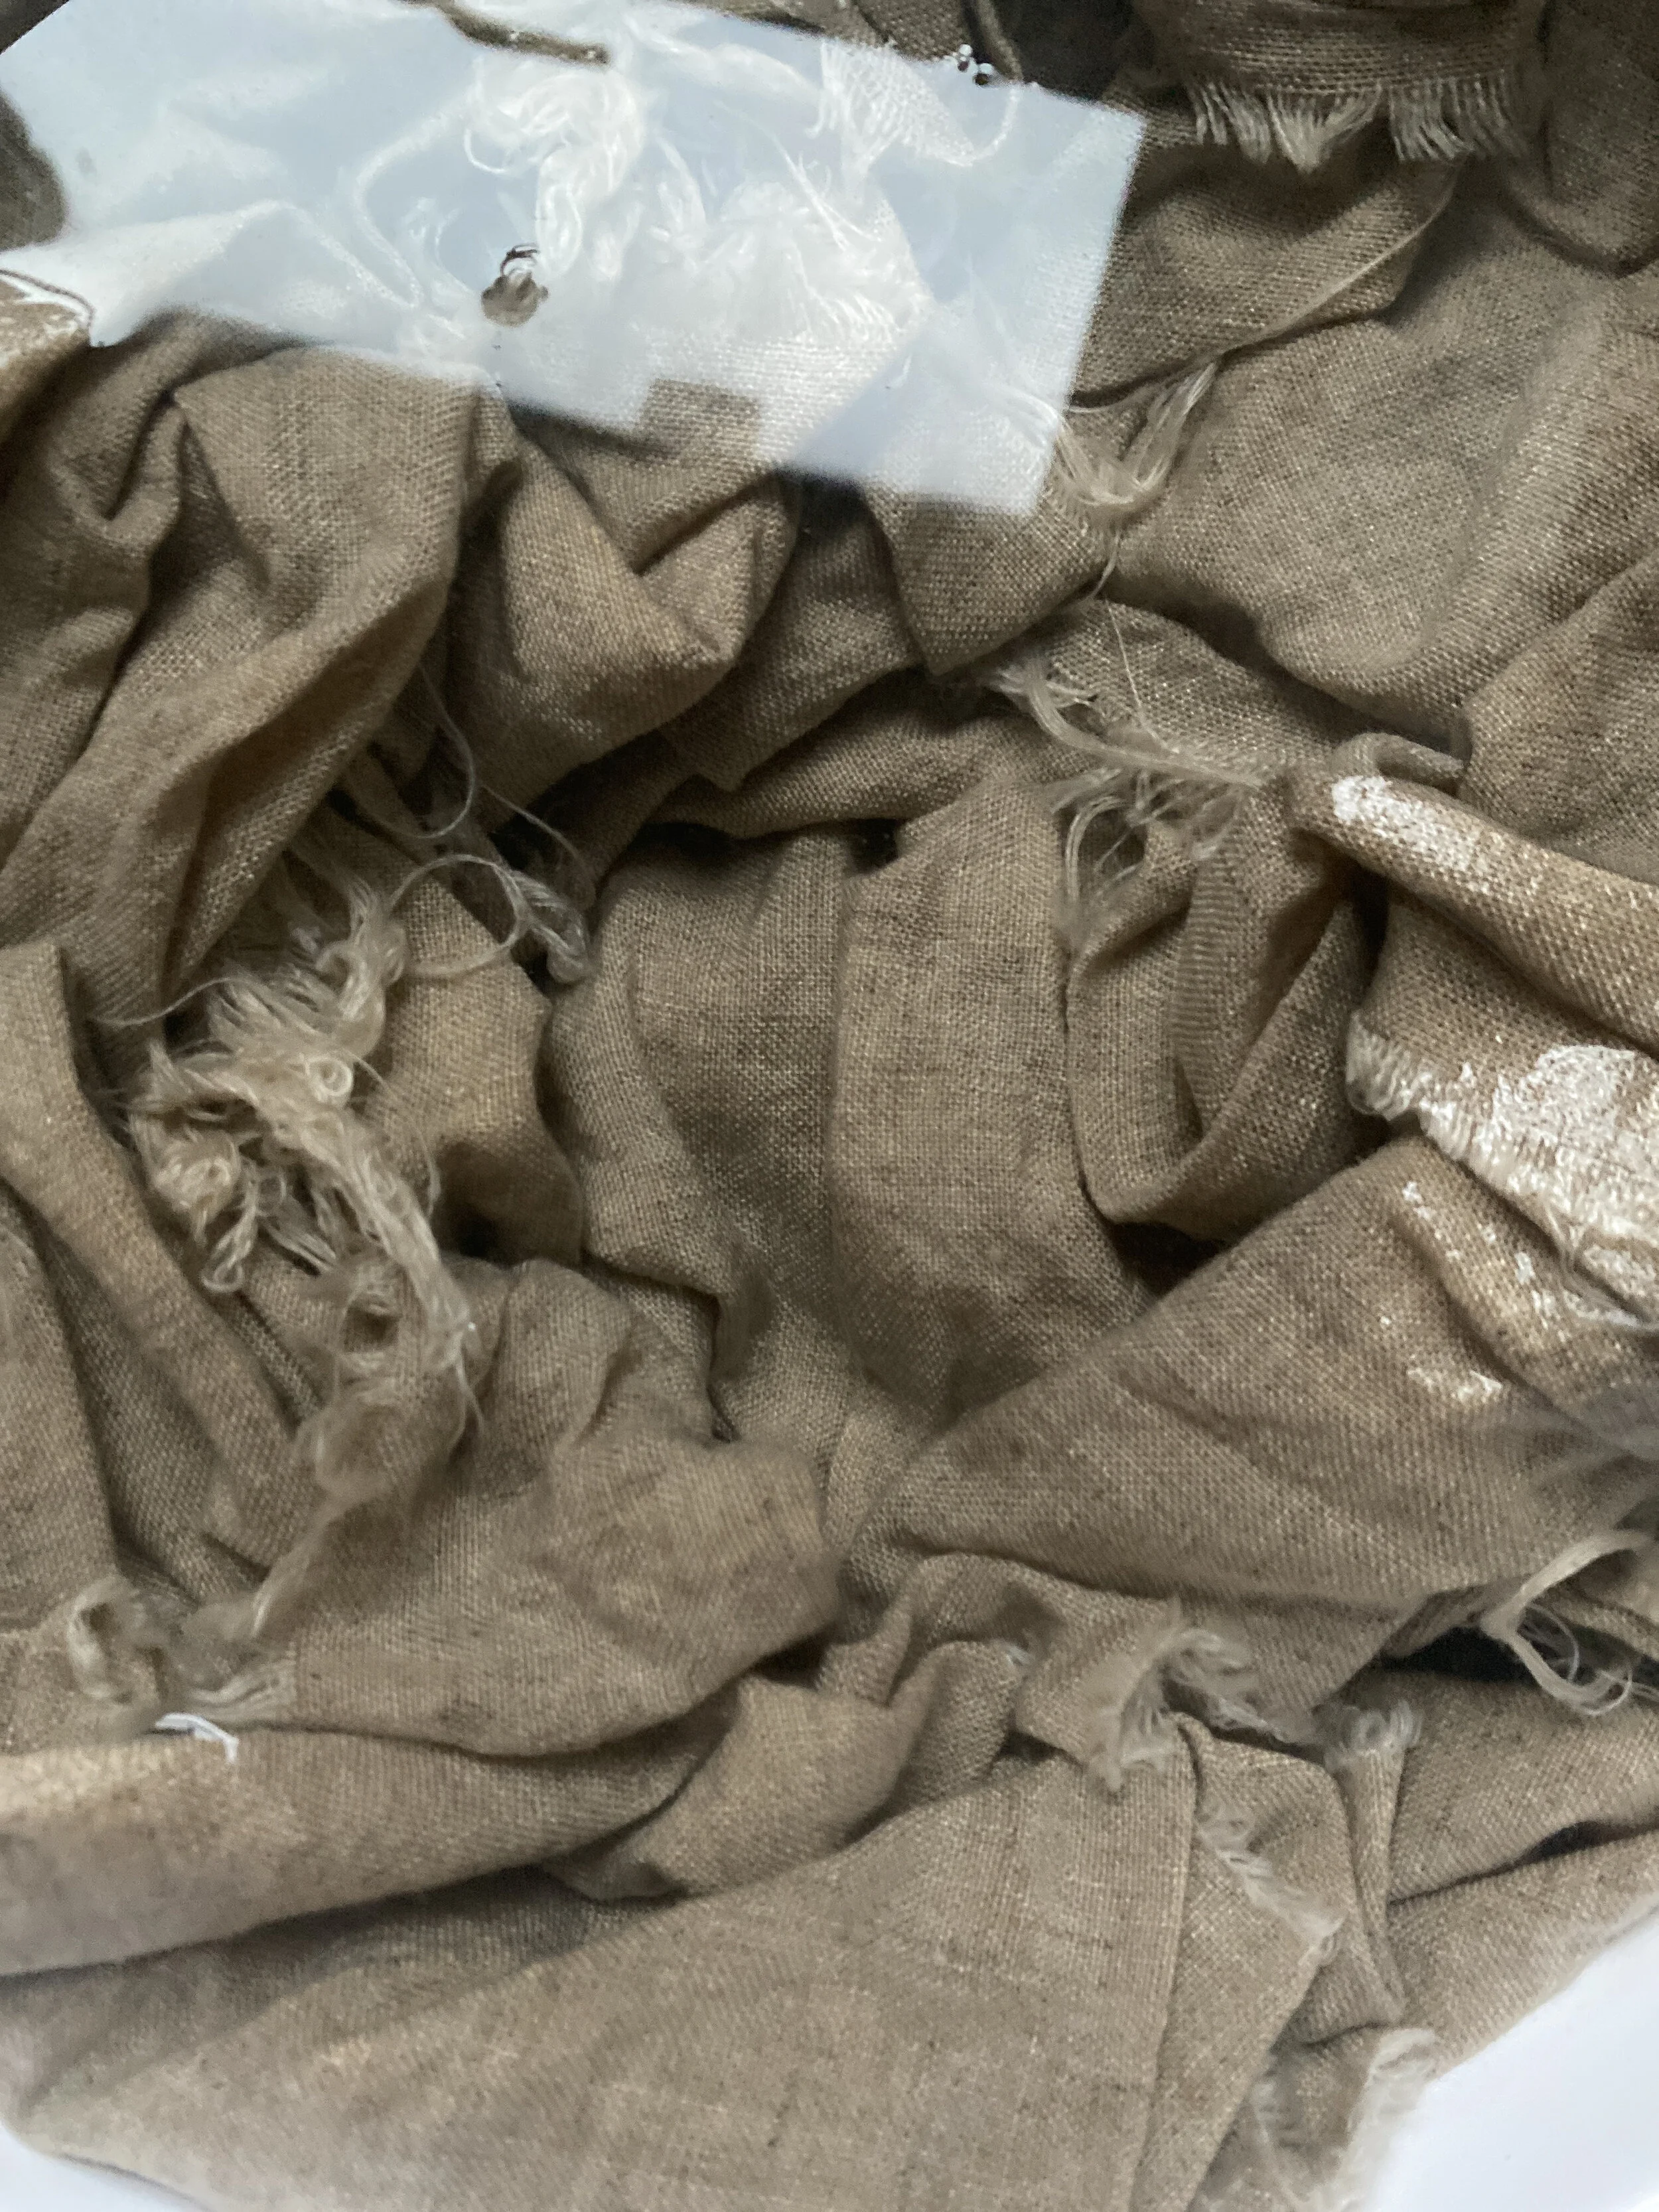
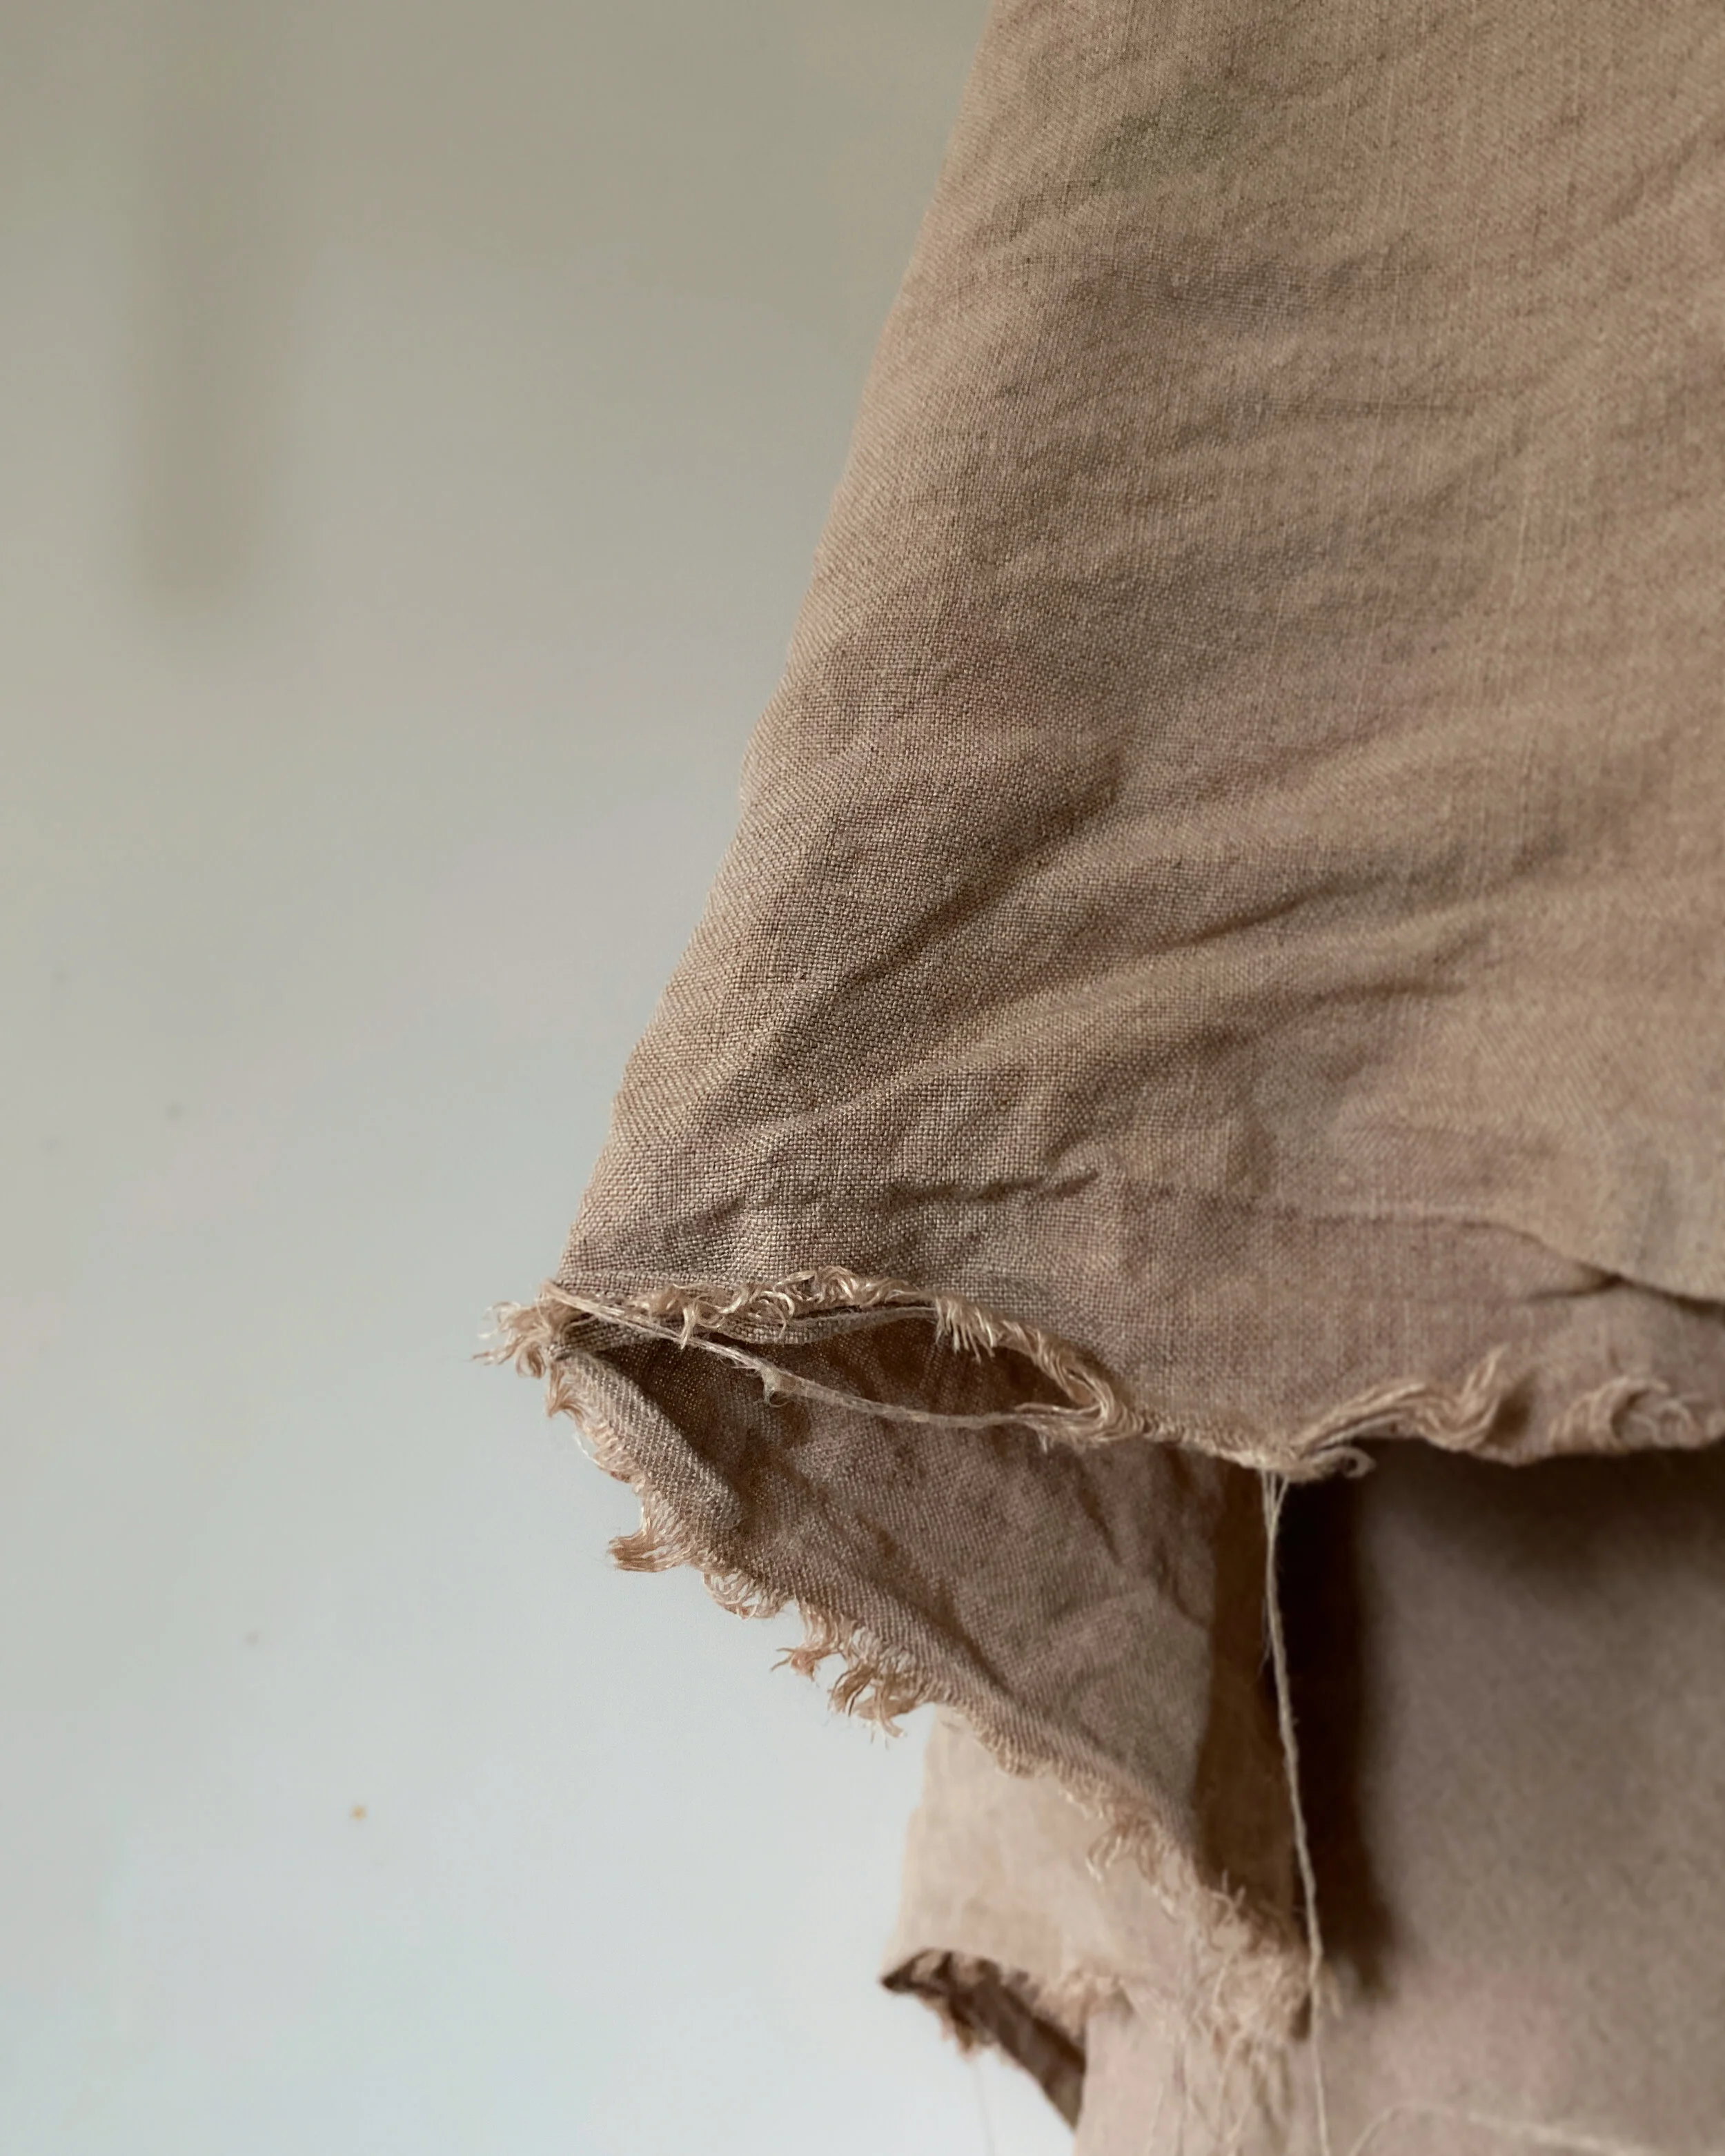
European hemp fabric hand dyed with pine needles
NATURAL DYE | A PROJECT
—
Last year I began a long overdue project to naturally dye the fabric used to make the bags which accompany Ara adornment.
I began my dyeing journey with avocado stones and skins - producing a dusty rose (if you’re new to avocado dyeing I wholeheartedly recommend Kathryn Davey’s ebook) and then onion skins - producing a rich ochre and a soft apricot - pictured below.

Ara adornment accompanying bags, naturally hand dyed with onion skins
PINE NEEDLES
—
It seemed fitting to begin this year by putting to use something I had in abundance - pine needles.
I couldn’t find much advice online about creating a dye bath with pine needles but I knew it could be done so went into it with an open mind and relatively low expectations.
I ended up so besotted with the soft mauve-clay colour produced by the pine needles that I dyed four pieces of my European hemp fabric with the same dye bath.
I am no expert in natural dyeing but if you’re interested in the ins and outs, I’ve shared my process below —

I | PREPARE THE FABRIC
The natural fibres of the hemp fabric I chose to work with needed to be scoured before dyeing to ensure the fabric would take the colour evenly. For this, I popped all of the fabric on a 40 degree wash with my usual fragrance free washing powder and a cup full of bicarbonate of soda - no fabric softener.
The second part of prepping the fabric was to soak it in water before it went into the dye bath. From previous dye projects I’ve gotten in the habit of soaking my fabric for about an hour before it was time to add it to the dye bath. This prevents the dye sitting in any creases once the fabric is added to the pot.
II | PREPARE THE DYE BATH
The general rule is to use 1 part dye to 2 parts water. If I’m honest I haven’t stuck to this religiously, I’ve enjoyed the freeing approach of working with what I have and I’ve still been completely mesmerised by the results.
This time, I collected a box full of pine needles (approx 30cm x 20cm) which went into a 20 litre aluminium pot. I usually dye one piece of fabric (1m x 1.5m) at a time - when it comes to the size of the pot and the amount of liquid you use, the main thing is that there’s enough liquid to cover the fabric, with a little room for it to move freely.
I filled the pot with cool water and added the pine needles, popped the lid on and brought the pot to a simmer, but not a boil. From this point I turned the heat down a little and left it on the heat for as long as felt right. I just played this bit by ear. Once I was happy with the direction it was going in I turned the heat off, leaving the pan on the hob.

III | STRAIN THE DYE BATH
Once I was happy that the water had taken the right intensity of colour, the next step was to remove the pine needles. I didn’t sieve the pine needles as I didn’t have a spare pot big enough to pour the liquid into. So I just fished them out with a fine mesh sieve.
Generally, if you want to achieve a really even colour the advice is to strain the fabric through muslin or a sieve. Any little bits left could result in deeper patches of dye on your fabric.

IV | ADD THE MATERIAL
After adding the material to the pot, I spent a bit of time gently working out any air bubbles in the fabric with a wooden spoon, making sure all of the fabric was submerged.
I brought the pot to a gentle heat again for an hour or so and to avoid the dye sitting in the creases, I’d return to the pot every so often to stir and unsettle the fabric.
And then it was just a game of patience. The longer you leave it, the stronger the colour will be (where there is still colour to give). It’s also worth bearing in mind that when the fabric is wet it’ll looks darker than it will once dry.

V | WASH THE FABRIC
When I was happy with the colour of the fabric I wrung out the fabric and popped it back in the washing machine with my fragrance free washing powder again and no fabric softener, to wash and rinse out the dye. This is always the scary part incase the dye all runs out but I was even happier with the final result than I imagined I would be.
Finally I hung it up to dry; the advice for naturally dyed fabrics is to avoid direct sunlight to prevent the colour from fading.
VI | REUSE OR REPURPOSE THE DYE BATH
One thing I noticed with the pine needle dye bath is that the intensity of the colour actually got stronger over time. I was so pleased with the results that I used the dye bath over and over again.
Once I was finished with the dye, I added it to our compost, to be returned to the earth.
~
If you decide to give this a try too let me know how you get on - I’d love to see your results.
The fabric I dyed will give me enough for a few batches of accompanying bags, as well as something else I have planned for this dusky coloured hemp.
I can’t wait to introduce you when the time comes.
L x