
Behind the altar | Vol. 5 Sand Casting

WHAT IS SAND CASTING?
Sand casting is an ancient technique used to cast molten metal into a desired form.
A special kind of compressed sand is used to create a mould containing a cavity into which molten metal is poured.

SAND CASTING
A RESPONSIBLE APPROACH
Unlike lost wax casting, the majority of the material (sand) used to create the mould can be used time and time again, making it a renewable and much more sustainable process, producing minimal waste.
Introducing sand casting into the Ara workshop enables me to cast certain pieces in house. This means less transport of waxes and castings to and from the casting house, minimising CO2 output.
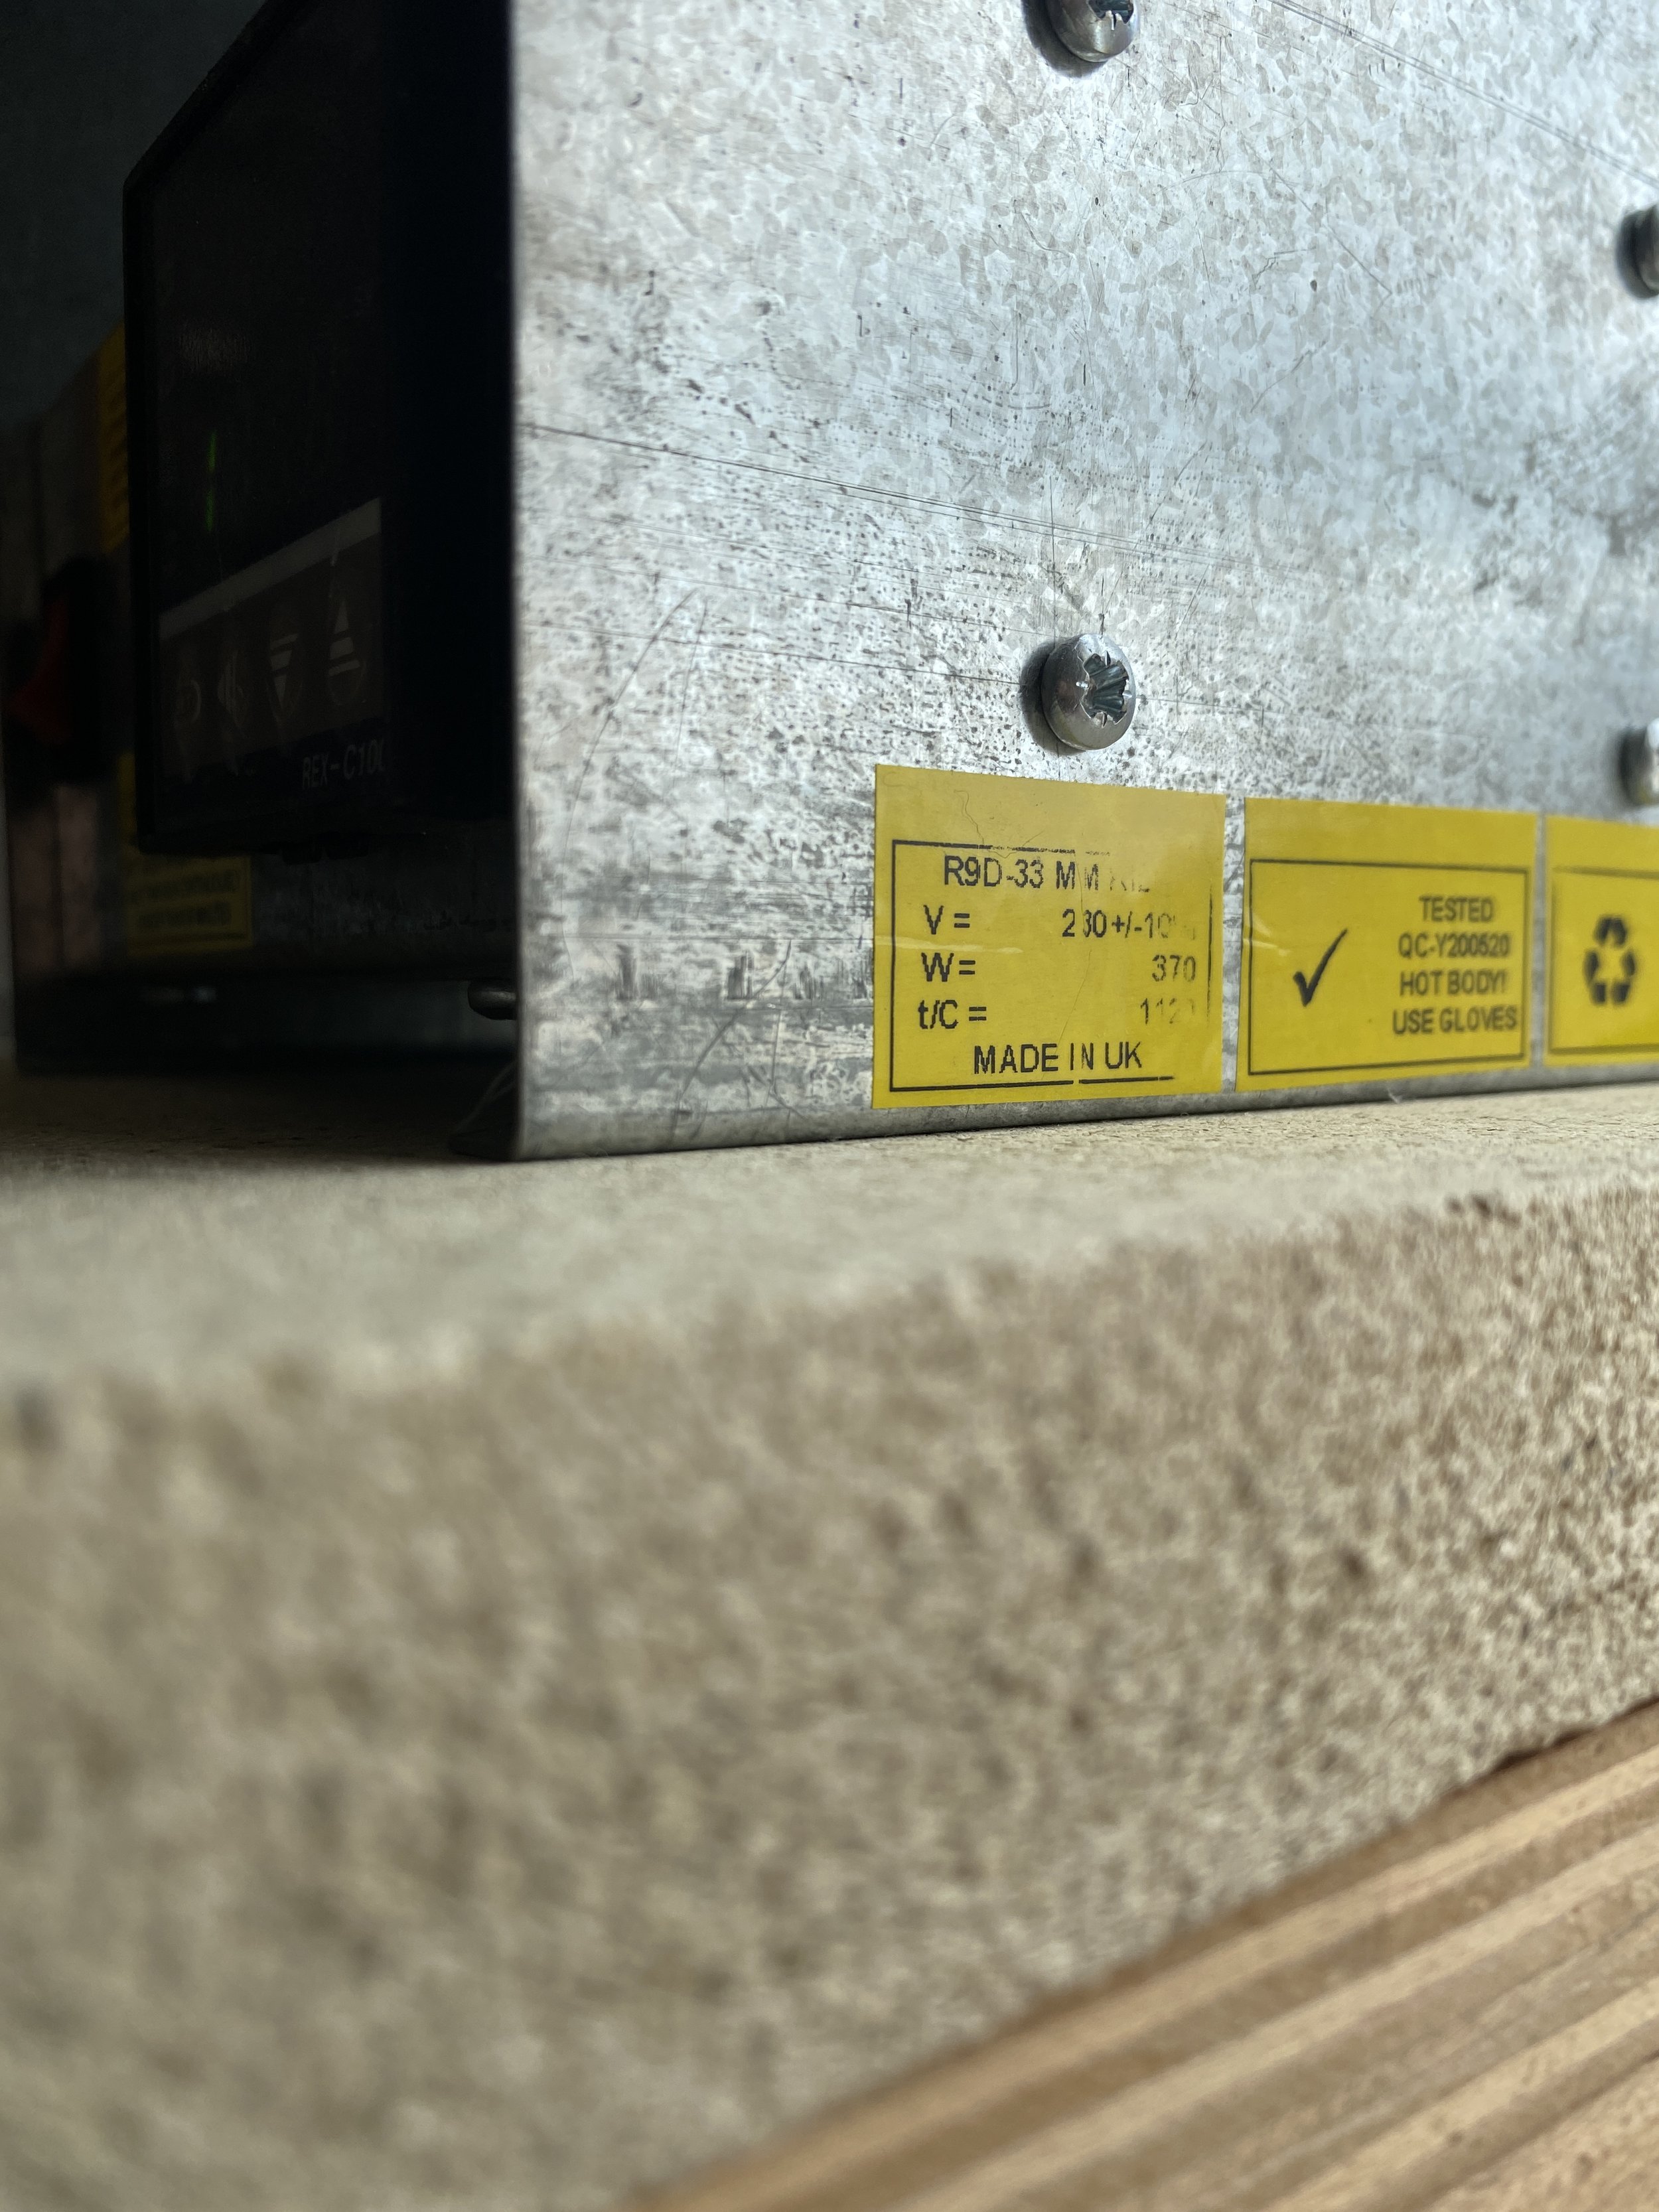
Taking it one step further, rather than using a powerful gas torch to melt the metal for this process, I have invested in an electric furnace. The metal can be melted using the workshop’s electricity, powered by 100% renewable energy. After doing a lot if research I chose a furnace made here in the UK, again, lessening CO2 output.
A ONE-OFF PROCESS
Unlike the silicone or rubber moulds used in combination with lost-wax casting —from which wax forms can be produced over and over again— sandcasting requires a new mould to be made for every cast.
Sand casting therefore lends itself to the creation of more organic, unique works.
SURFACE TEXTURE
Depending on how compressed the sand is during the pour of the molten metal, the work can adopt a sand-like, less refined surface texture, which adds to the organic nature of this process.

The completed project — the cast recycled silver pebble pendant alongside the original
THE PROJECT
“Lauren was so enthusiastic, accommodating and thoughtful throughout the entire process, and I felt very included in the decision making right from the very start.
The pendant turned out even better than I could have ever imagined!
And I would recommend Lauren, and the magic she creates in her studio, every day of the week.”
A CAST RECYCLED SILVER PEBBLE PENDANT
A very dear client approached me to explore potential projects to create a gift for her beloved mum’s 60th birthday.
We decided on the perfect project — a pebble found on her mum’s favourite beach, one that spoke to my client and that would suit the recipient's style.
This nature of this piece meant that it was such a special project for my first attempt at sand casting.
Below I outline the process I took in the creation of this project, and the learning along the way.

Refining the sand with a wood handled taping knife
THE PROCESS
I. PREPPING THE SAND
A successful cast hinges largely on the successful construction of the mould.
This is a slow process that requires a lot of care and attention to detail.
The first step is to refine the texture of the sand and remove any lumps or bumps so when it’s compressed into the mould, it can be packed down as densely as possible.
I used a taping knife to repeatedly chop up the sand. A metal ruler can be used for this but I found the wooden handle of the taping knife a more ergonomic tool for my hyper-mobile joints.


II. FILLING THE MOULD
Once I was happy the sand was a finer texture, I began to pack it tightly into one half of the mould.
I alternated adding some sand with hammering it down with a weighty hammer to make it more compact and dense.
Once the mould was full, I used the taping knife to scrape the excess sand off the top and flip it over, revealing a smooth and compact surface.
As you will see in the second image, my first attempt wasn’t as compact as it could be so I removed the sand and redid the process with a little more elbow grease so I was happy the sand was nice and snug (see below images).


III. POSITIONING THE OBJECT
I pressed the pebble into the sand so it sat about half way in, pressing down evenly from either side of a ruler.
Once the pebble was in position, using a dry paintbrush I carefully brushed a little talc over the sand to stop it from sticking to the sand that would fill the other half of the mould.
I precisely connected the other half of the mould, being careful to make sure the line engraved on both sides met neatly as this is crucial to ensuring the shape of the final cast is not distorted.
I then packed the empty top half of the mould with more sand, this time being careful not to dislodge the pebble with the pressure of the hammering.
After scraping off the excess sand from the top of the mould, I carefully pulled apart the two ends and removed the pebble to reveal a cavity within either side of the mould.

A first successful cast
IV. CARVING FOR THE SPRUE AND AIRVENTS
This is the most complex part of the process, first carving a well for the molten metal to pour into the widest part of the pebble shape. It’s really important at this point to make the hole wide enough so that the metal will flow as quickly as possible into the mould before it starts to cool — whilst also avoiding impacting on the shape of the cavity.
Secondly, the air that is trapped inside the cavity needs to go somewhere when the molten metal is poured in, otherwise air bubbles will be formed and the cast will not be successful.
For this, I pushed 6 holes around the edge of the mould to create 6 air vents. I then carved a tiny channel from the pebble cavity to each of the holes to provide a release for any trapped air. Here I had to be careful to brush out any sand that fell into the vents to maintain a clear airway.
Once I was happy with all of the carving within the mould and that the pebble shape remained in tact, I rejoined the two parts of the mould, ready for casting.
My electric furnace — made in the UK

The aftermath
V. THE CAST
Rather than using gas to melt the metal, I used an electric furness - powered by my workshop’s electricity which uses 100% renewable energy.
I measured out enough silver to ensure there would be enough weight and volume of molten metal to move with greater force into the mould when poured - to completely fill the mould and create a sprue (excess metal from the pour).
I placed the silver into a crucible and set the furnace to rise to the correct melting temperature. The temperature I brought the metal to was actually higher than the metal melting point as the moment the crucible moves away from the furnace it begins to cool. It’s really important to ensure that the metal is still fully molten when it pours into the mould.
After a swift and direct pour (heat gloves on!), once the metal had stopped smoking I opened up the mould to check if it had been a successful cast.
I was over the moon with my first attempt - a good clean cast with minimal draw into the air vents.

The cast pebble with sprue (where the metal poured into the mould)

VI. THE CLEAN UP
Once the silver pebble had fully cooled, I hand pierced (sawed) off the sprue (the excess metal from the pour).
I sanded down any excess from the air vents.
Where the molten metal made contact with the sand, the sand burned and went black. As this cannot be used again, I carefully separated it from the rest of the sand, which can be used again and again.
Once I was happy with the shape of the pebble, I took it through various stages of sanding and I actually gave the pebble a polish so I could check in wiht my client to ensure she was happy to proceed with this first cast.
The surface took on a few little markings from the casting process which we agreed work well with the overall aesthetic of the piece.


VII. CREATE AND ATTACH THE BALE
The next step was to work out the design of bale, to suit the pebble and the wearer.
We decided on a fairly thick wire for the bale in an organic oval shape to suit the form of the pebble, without drawing focus away from it.
Once I had made the bale, I worked out the positioning — with gravity in mind, based on how the shape would hang against the body.


VIII. FINISHING AND POLISHING
After soldering the bale on, the final steps were to sand off any excess solder and polish up the pendant to a high lustre.
I sent the pendant to be hallmarked at my closest Assay Office in Sheffield.
The pendant now bears my makers mark and the the letter X, depicting the year in which it was made — a lovely touch for my client’s mum who celebrated her birthday this year.
Read more about the hallmarking components here.
Finally, I added the pendant to its chain that we chose again to suit the weight and form of the pendant.


I am over the moon with my first sand casting project and can’t wait to develop this practice further.
If you’d like to work together to create something unique using this method, please get in touch.
L x